
Showing pictures in Python
This post will show different ways of displaying pictures in Python. The options we will explore are:
- PIL (Python Image Library)
- OpenCV (Computer Vision Library)
- IPython
- Matplotlib Library
Method 1: PIL (Python Image Library)
PIL is the standard library to manage images in Python. They discontinued the project in 2011, but a new one called Pillow took over as a GitHub fork of the original project. This library has a lot of methods to display, change or store images.
We can read and write in different formats; cut, paste and merge pictures; geometry and colour transformations; transpose a picture; enhance images; support for animation formats (GIF); print photos and much more.
We need to install Pillow first. We use the following sentence in the command prompt:
pip install Pillow

We can type the next code in the Python console or inside a Python file (.py extension):
#importing the Image class from PIL package
from PIL import Image

#read the image, creating an object
im = Image.open(r"D:\Open Picture Python\picture-1.jpg")

#show picture
im.show()
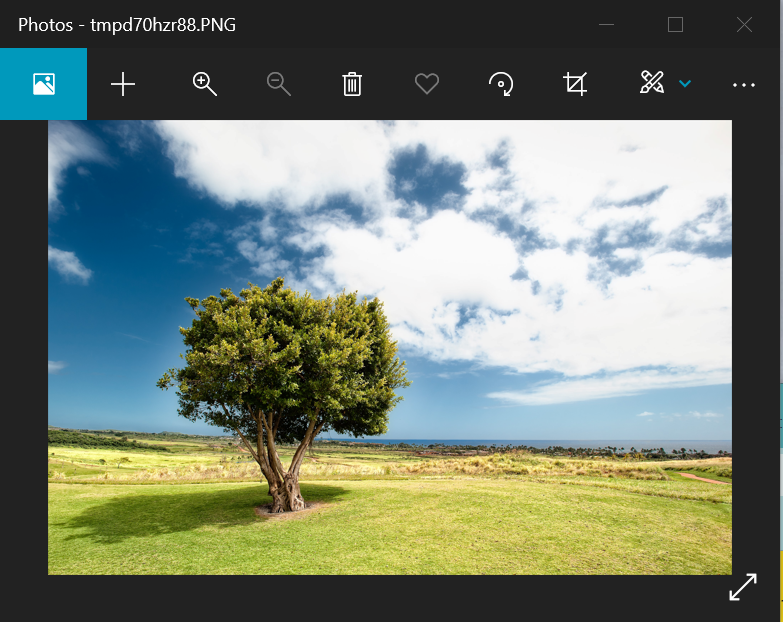
After executing this code, the default Photos application in Windows opens to show the picture.
Method 2: OpenCV (Computer Vision Library)
Computer vision is the field of Artificial Intelligence that lets computers get information from images, videos, and other sources similar to humans.
Applications of Computer Vision are Self-Driving Cars, Facial Recognition, Medical Diagnosis, Manufacturing or Law.
OpenCV (Open Computer Vision) is an open-source Artificial Vision and Machine Learning software library.
The support of NumPy (library to work with arrays) makes it easier to work with OpenCV.
We can also use this library to display images in the following way.
Install the library executing this command in the console:
pip install opencv-python
To show the picture, we can use the following code:
#import the cv2 module.
import cv2 as cv

#imread method loads the image. We can use a relative path if
#picture and python file are in the same folder
img = cv.imread('beach-resort-1395730.jpg')

#method resize is used to modify de size of the picture
imS = cv.resize(img, (960, 540))

#We use imshow method to show the picture
cv.imshow('Picture of trees',imS)

#If we don’t use the waitKey method, picture
#show and disappears immediately.
cv.waitKey(0)

#destroyallwindows used to free up resources
cv.destroyAllWindows()
We get the following window with the picture when we run this code. It will be closed when we press a key or close the window.

Method 3: IPython
If we are working with Jupyter Notebook, we can use the IPython library to show pictures inside the notebook.
Jupyter Notebook is an interactive environment where we can write and execute Python commands without the need to save that in a file. Jupyter contains a lot of tools oriented to Data Science.
These notebook documents can contain code, formatted text, equations, graphs, pictures, etc.
IPython is a Python interactive interpreter and a library with many functions, including those to show pictures.
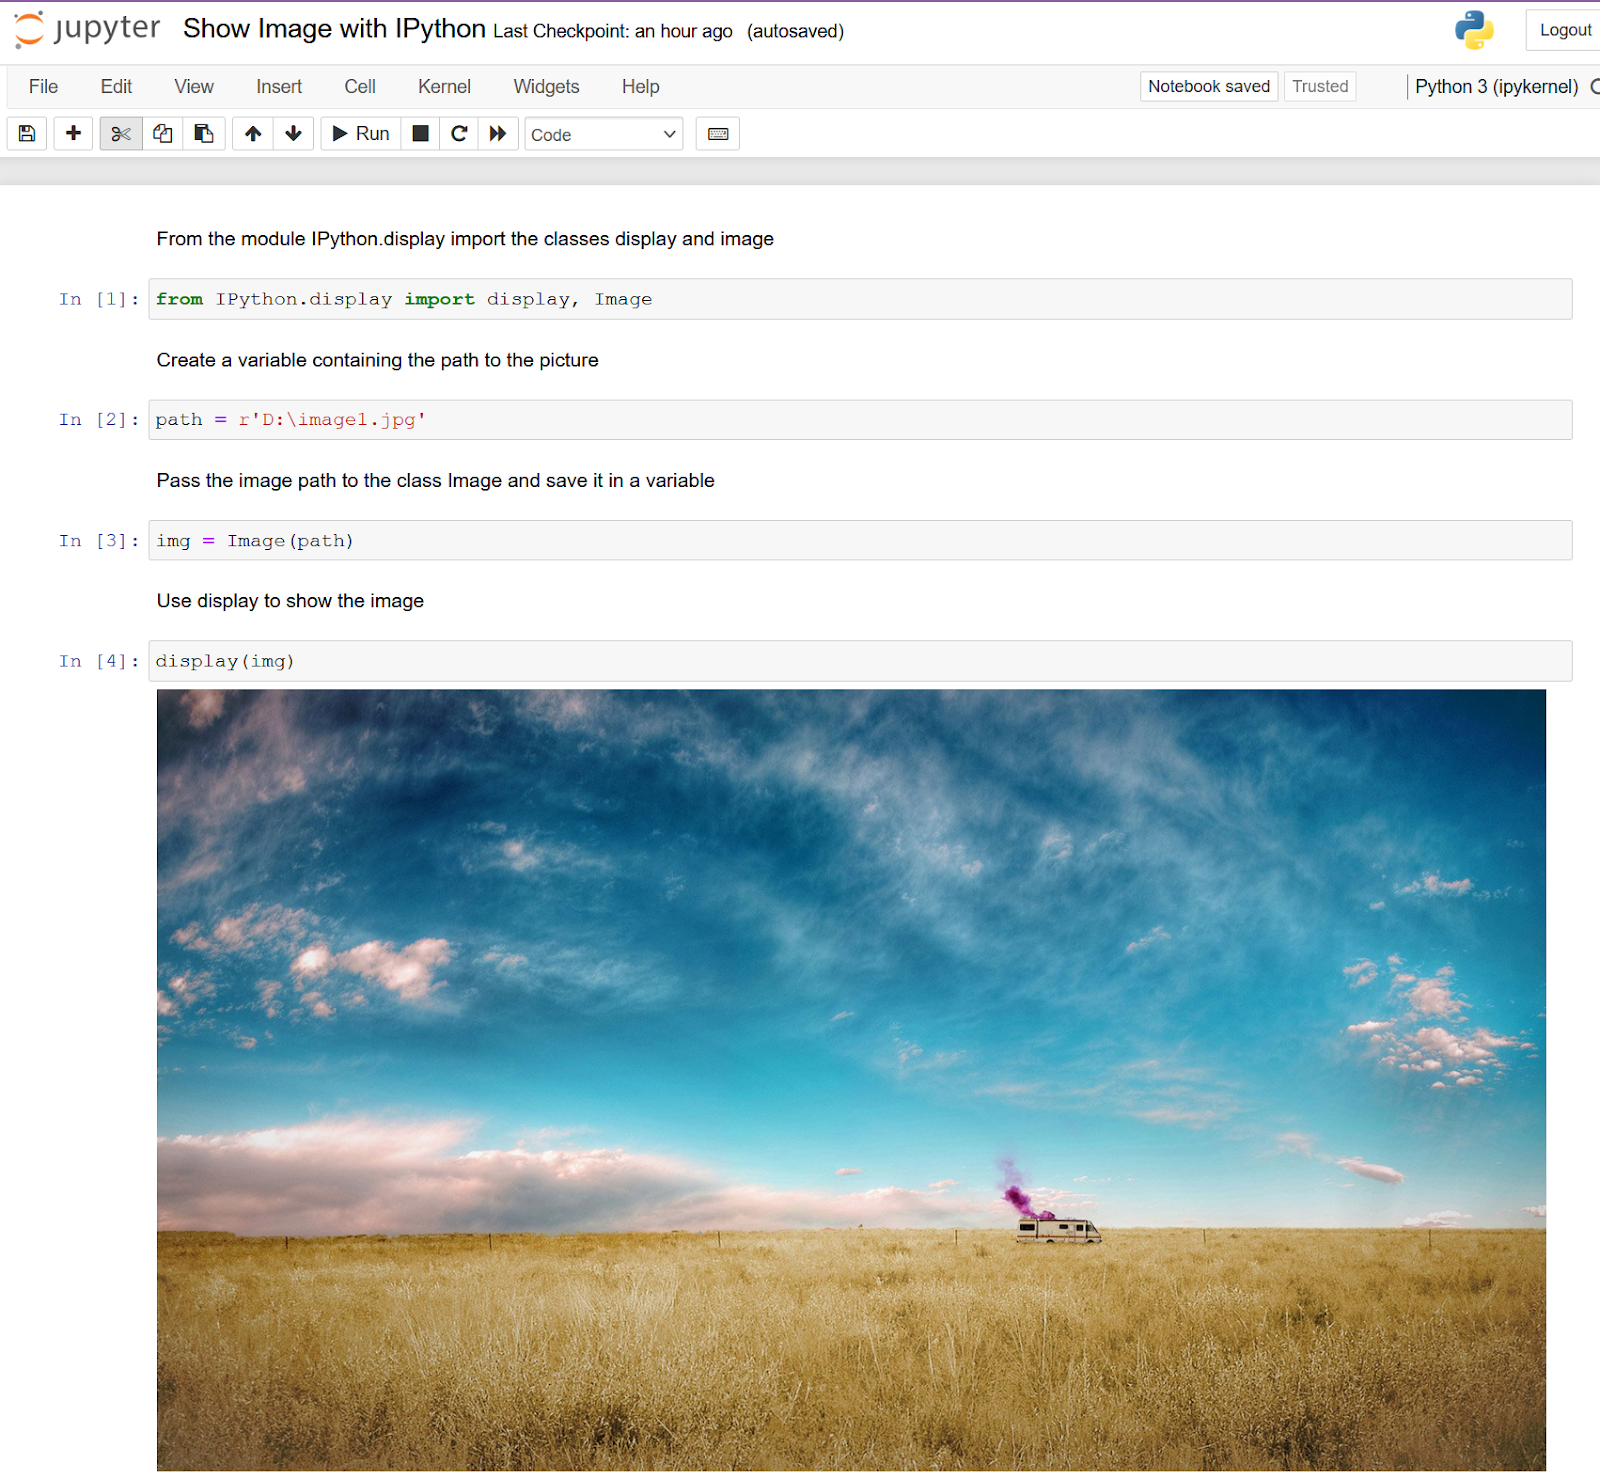
Let’s see an example of IPython’s use inside a Jupyter notebook in the following image:
Method 4: Matplotlib Library
Matplotlib is a library for creating static, animated, and interactive visualisations in Python. We can make very detailed plots very quickly. And we can use it as well to show a picture. It’s built on NumPy arrays and designed to work with SciPy (library for scientific and technical computing). Let’s see how to do it.
To use this library, we have to install it first with the following command in windows prompt:
To use the library, we can create a python file with the following code inside:
#We have to import pyplot and image packages.
import matplotlib.pyplot as plt
import matplotlib.image as mpimg

#Read the image we have to show. We should write the
#full path if the picture is not in the same directory
as the .py file
img = mpimg.imread('image-1.jpg')

#this function imshow displays data as an image
imgplot = plt.imshow(img)

#show the picture
plt.show()
After saving the code, we run it, and we get the next:
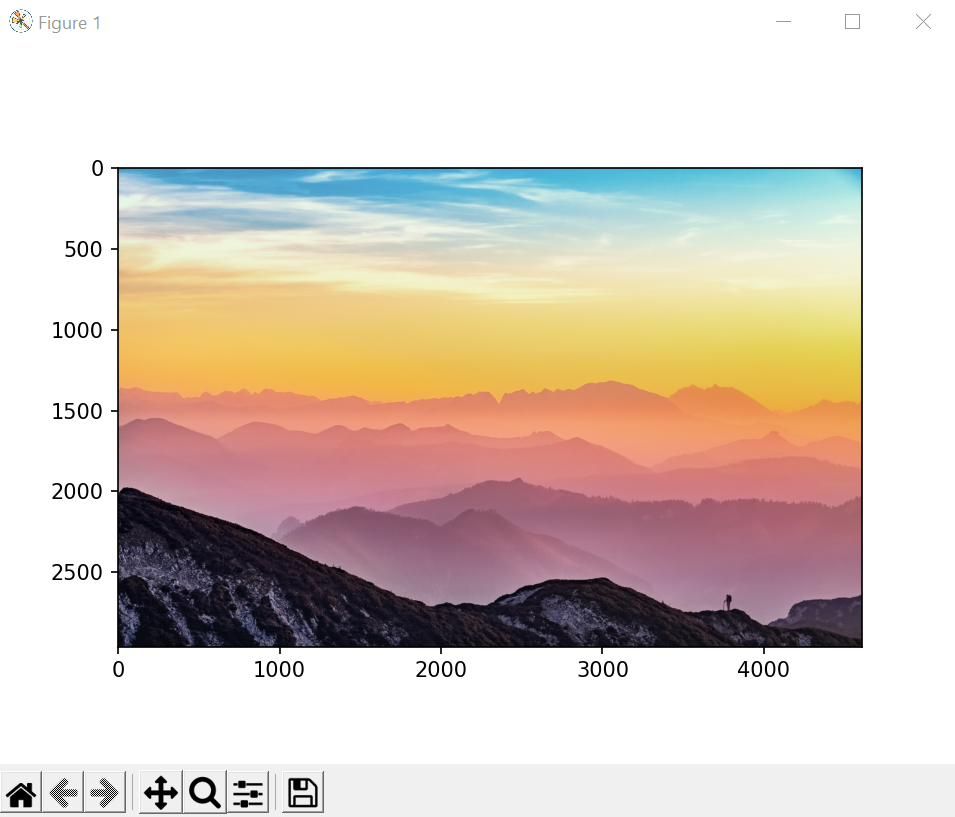
Because matplotlib is oriented to show 2d plots of arrays, we have the axes shown by default. If we want to remove them, we need to add the next code:
plt.axis('off')As we could see before, we have plenty of options to show images with Python. Using one or another is a question of personal preference or former knowledge. We can investigate further on the official websites provided.
And remember, Good coding and have fun!!