
MetaMask is an Ethereum wallet allowing you to interact with the Ethereum blockchain in a simple way. Once installed, users can send and receive ETH and ERC-20 tokens. In addition to this, MetaMask serves as an entry point for DeFi, dApps, and NFTs.
Install MetaMask
Head to the Chrome Web Store or MetaMask.io to install MetaMask. Other than Chrome, you can use browsers such as Brave, Firefox, or Opera. Alternatively, you can also download the dApp to your mobile device.
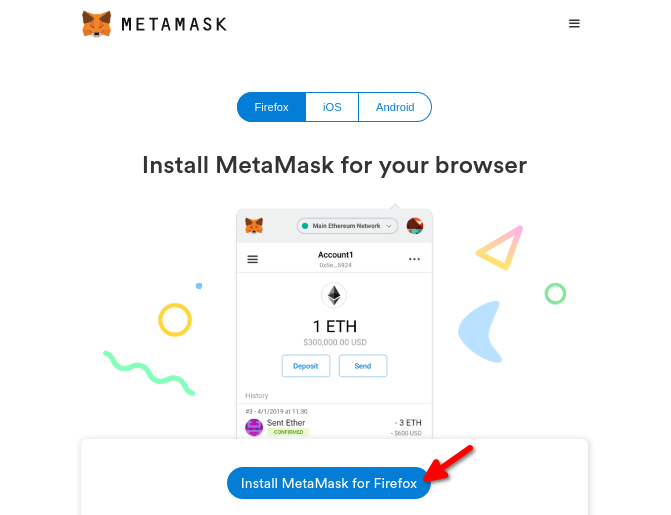
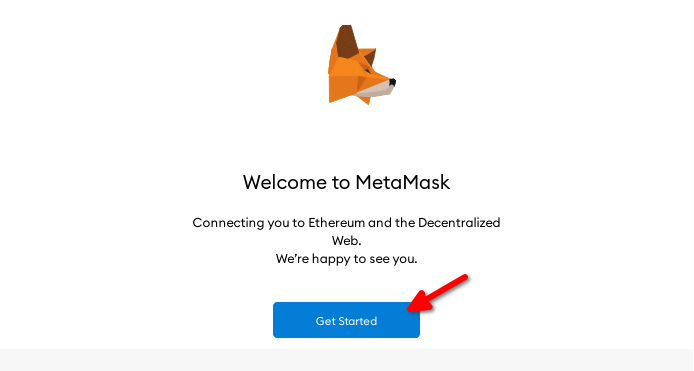
Once the installation is complete, head to your browser’s toolbar to open the dApp. Click “Get Started”.
Set up New Wallet
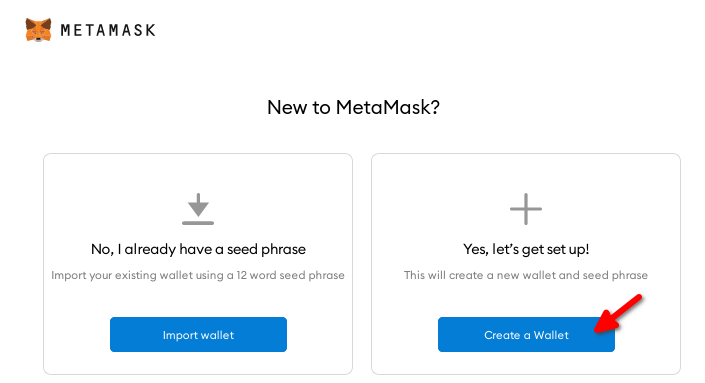
Next, you’ll click “Create a Wallet”. If you already had an existing wallet, you’d click on “Import Wallet”. You would import by using your seed phrase. For today’s tutorial, we’re going to learn how to create a new wallet.
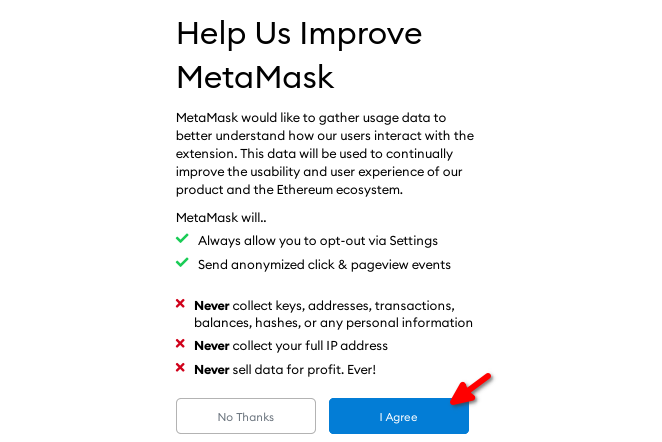
You’ll then see a screen about helping to improve MetaMask. Click “I agree” or “No Thanks” depending on what you want to do. For this guide, I’ll agree.
The next thing you’ll need to do is create a password with a minimum of 8 characters. You should always choose strong passwords with a combination of characters and numbers. Store your password safe as you normally would with your accounts. If you happen to lose your password, you’ll be able to recover your wallet with your seed phrase.
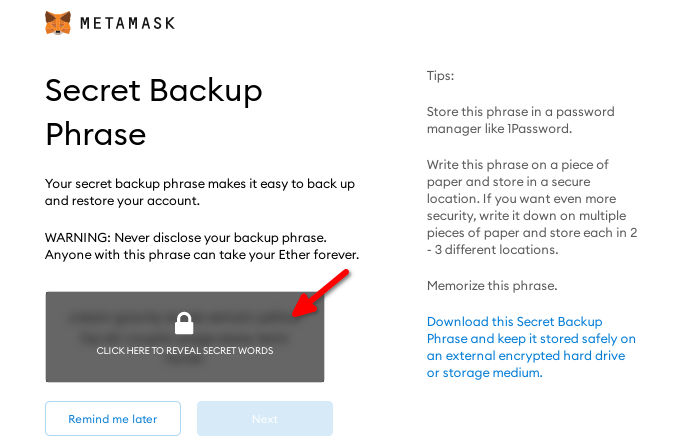
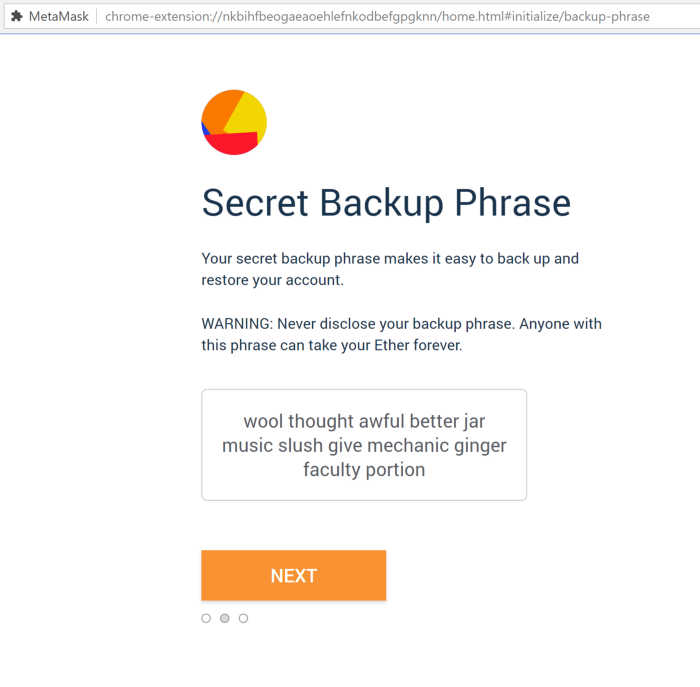
To reveal your secret words aka your seed phrase, click on the grey area. It is of utmost importance to write down your secret backup phrase and store it safely. Be sure to make multiple backups as well.
Whoever is in possession of a secret backup phrase has access to your crypto. If anything were to happen to your device, you’d need your secret backup phrase to restore your wallet.
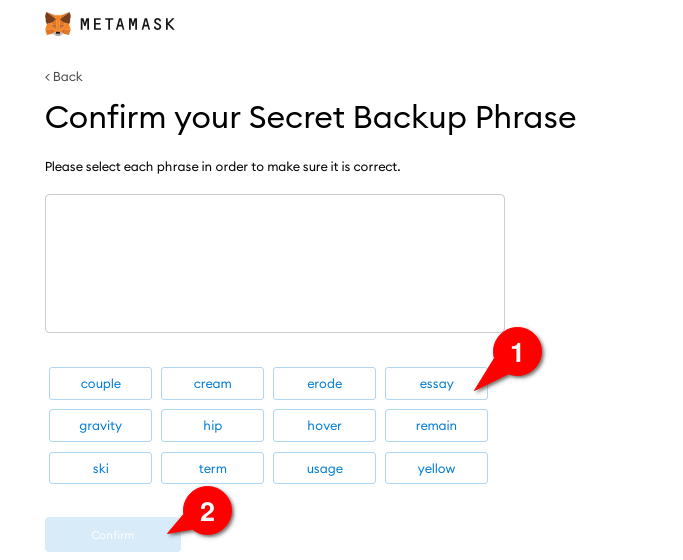
To confirm you have written down your secret backup phrase, enter each phrase in the exact order.
Receive ETH
Now that you have successfully set up your MetaMask account, you can now send ETH to it from another address or exchange. Copy and paste your address to ensure you send it to the correct account.
If you do not have any ETH yet, you can buy it with Metamask’s built-in exchange.
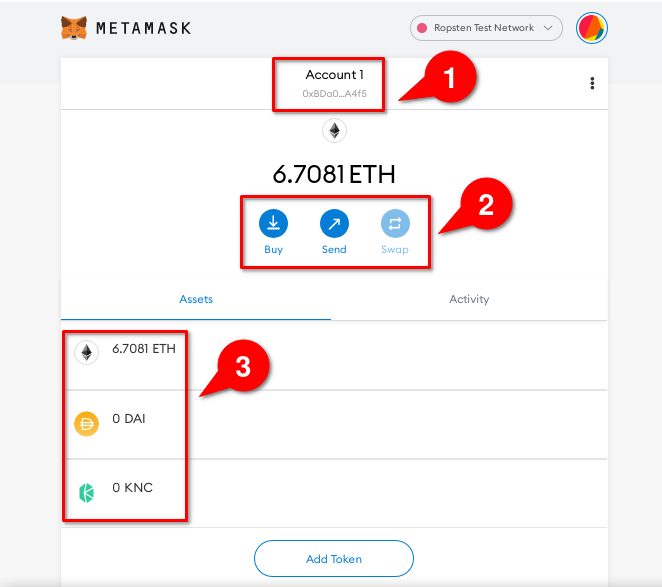
Check your balance on the bottom half of the wallet. To add additional custom ERC-20 tokens, you can click “Add Token” to do so. Depending on the Ethereum blockchain’s traffic, you may have to wait several minutes for your ETH to show up.
Send ETH
Once you have ETH or any ERC-20 token in your wallet, you can then send the crypto to anyone, a merchant, exchanges, or additional ETH wallets. Click “Send” and enter the amount of ETH you’d like to send and how much in fees you’d like to pay and click “Next”.

The fee will be automatically set by MetaMask by deflation ult. You are always free to pay a higher fee to get your transaction confirmed faster. To find an ideal fee for your ETH transaction, head to ETH Gas Station.
To finalize your transaction details, click “Next” and then “Confirm”. To see the status of your transaction, click “Activity” in MetaMask.
Dive into dApps
The reason why so many people love MetaMask is its integration with a plethora of dApps and DeFi platforms such as SushiSwap, PancakeSwap, and Uniswap. When a platform supports MetaMask, you’ll be able to “Connect Wallet” and choose MetaMask. You will see a pop-up, click “Next” and “Confirm”.
You can think of MetaMask as a bridge to the decentralized internet. The best way to learn the ins and outs is to play. Have fun and stick around for our next guide.
Feel free to join our Become Freelance Developer Course if you’re interested in creating your own thriving coding business from the comfort of your own home.